Sourcing & OEM
3D-Printed Verification Before Steel: What a Printed Injection Molding Prototype Can and Cannot Prove
What a printed verification sample proves before you cut steel, what only the first molded part can prove, and what a buyer should sign off at this stage.
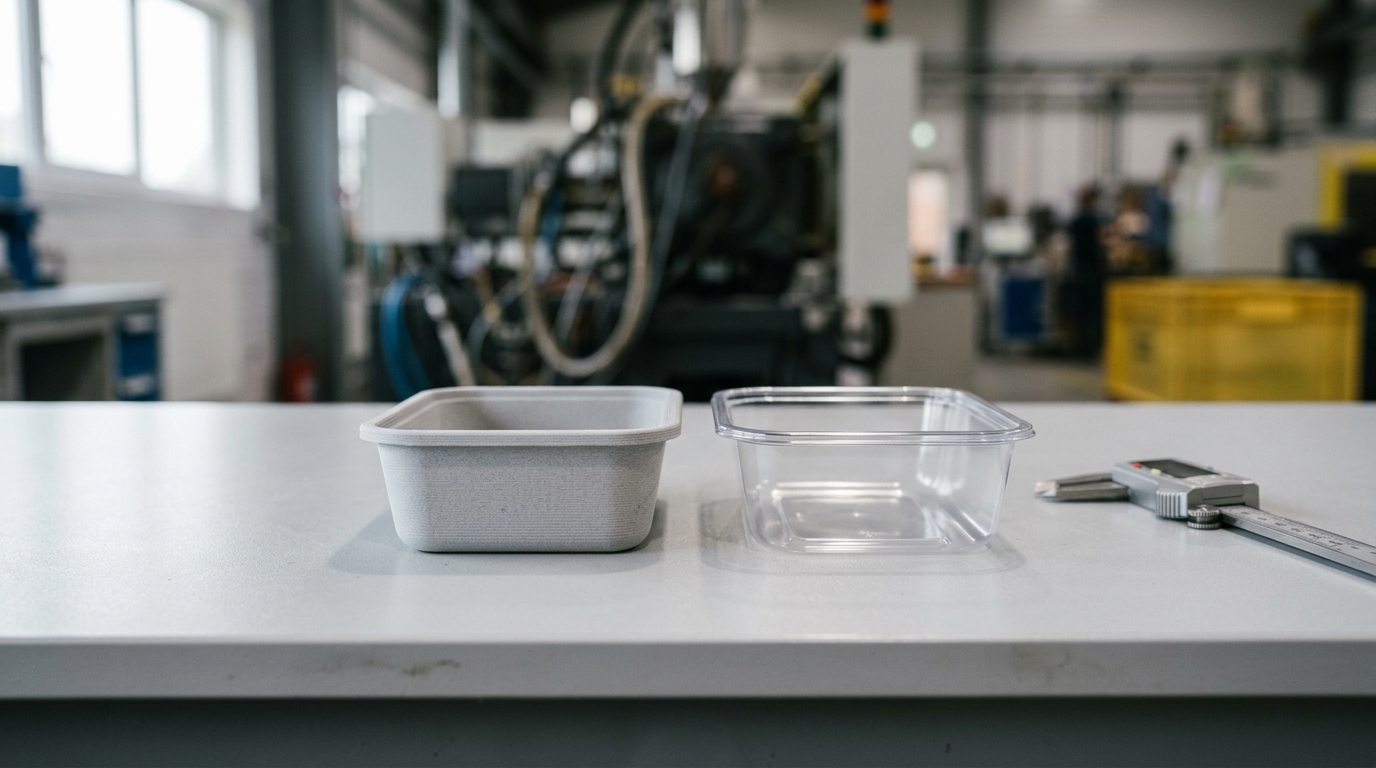
A printed verification sample is a 3D-printed model of a container and its lid, built before a steel mold is cut, so the shape can be held, fitted and changed while changing it still costs a print. It is an injection molding prototype in the loosest sense of the term — a stand-in for the part an injection molding machine will eventually make — and the gap between what it proves and what it only appears to prove is where pre-tooling programs lose weeks.
We are a food-container factory in Jieyang, Guangdong. Our own site publishes a plant established in 2000, 15,000 m² of floor space, 30+ injection molding machines and buyers in 60+ countries. We cut our own tooling, so the sample-to-steel sequence below is the one we run, not a description of someone else's.
This page is for importers and brand owners who have a container design and are deciding whether to commit to a mold now. It sets out what a printed sample can verify, the seven things it cannot, what to sign off at that stage, what the loop costs in calendar time — and the two ways buyers get the decision wrong.
What a Printed Injection Molding Prototype Is — and What It Is Not
Most people who search for "3d printed injection molding" are asking about something else: printing the tool. A printed insert used as a short-run mold is a real technique, and it belongs to a different question — how to make a few hundred parts without a steel tool. This page is about the other half of that phrase: printing the part so that the tool you eventually cut is cut once.
Four different objects get called "the prototype" in a container program, and they carry very different authority.
Object | What it is | What it settles | What it cannot settle |
|---|---|---|---|
Printed verification sample | Thermoplastic laid down layer by layer — material extrusion, one of the process categories defined in ISO/ASTM 52900 | Shape, fit, clearance, ergonomics, assembly order, the brief handed to the toolmaker | Molded dimensions, seal performance, surface finish, food-contact status |
Prototype injection mold | A soft-metal or aluminum cavity, cut to produce a small batch | Whether the geometry can be molded at all, and parts to test in the real world | Production tolerances, cooling behavior, tool life |
Production tool | Hardened steel cavity and core, cut once for the sellable part | Unit cost, cycle time, finish, run size | Cheap correction — after the cut, every change is a tool change |
First article from the tool | The part a production machine makes, in the production resin | Dimensional conformity, finish, carton fit, the compliance file behind it | Arriving early — it exists only after the tool exists |
Two boundaries are worth drawing before anything else. If your change to an existing container is a color, a logo or a packaging form, no sample is needed at all — the recorded model already carries it, and the useful reading is our note on what can change on an existing mold and what needs a new one. And a printed sample is not a prototype injection mold: it produces no sellable part, so it can never be used to fill an order while the steel tool is being cut.
What a Printed Sample Does Prove
An injection molding prototype made by printing is cheap to iterate and fast to hold, and that is exactly what it is for. Five things it does well.
Fit and clearance between parts. Whether the lid rib lands on the body land, whether the gasket groove lines up along its whole path, whether a divider sits at the height the drawing says. Print a revised file and the question is answered the same day rather than after a tool change.
Lid travel and closure reach. Open a printed sample through its full arc and you find the interference you cannot see on a screen: a latch that needs repositioning, a hinge stop that arrives early, a corner where the lid rubs the body.
Ergonomics in the hand. A container is held, opened one-handed, stacked and carried. Grip width, the force needed to release a clip, how a full body behaves when it is lifted and carried — none of that reads from a rendering, and all of it reads from a sample.
Stacking and nesting with the rest of the range. Interference between a new body and the models already in your range is a print away from being found, and finding it early keeps your carton and pallet arithmetic valid.
A better conversation with the toolmaker. A physical sample turns a design review into concrete DFM feedback from the team that develops the mold: where the gate should sit, which faces need draft added, which wall should be adjusted before steel, where an ejection pin will leave its mark.
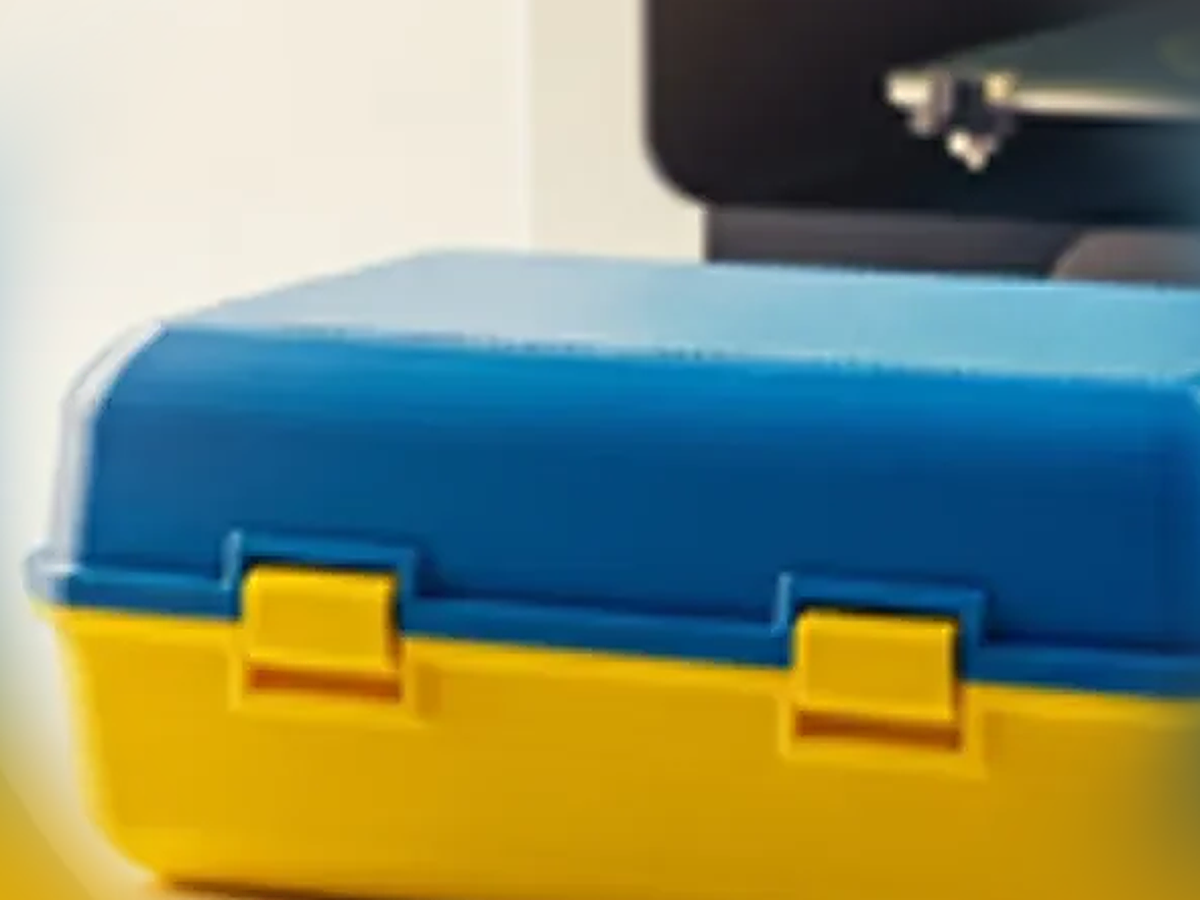
The sample stage of our own process: a hinged container held and opened before any mold is ordered — printed or machined, whichever answers the question faster. The part in this frame is that sample, not the molded production part.
What It Cannot Prove: Seven Limits
Everything a printed sample does not reproduce comes from one fact: it is made by a different process, from a different material state, without a cavity, a gate, a cooling circuit or a cycle. Six of the seven limits below are process limits. The last is a documentation limit, and it is the one that surprises buyers.
Limit | Why the printed sample cannot show it | What does prove it |
|---|---|---|
Wall thickness and nominal dimensions | A printed part is built up in layers, with its own achievable tolerance — not the tolerance of a machined cavity filled under pressure | The inspection stages on the molded part, first article included, measured against the drawing |
Shrinkage and warpage | The molded part shrinks as it cools, and warps where the wall is uneven, the gate is badly placed or the cooling is unbalanced | The molded part, from the production cavity |
Cycle behavior and moldability | Draft, ejection force, gate marks, weld and sink lines and cycle time are properties of the tool and the machine, not of the model | Mold flow analysis and a mold trial at the mold development stage, then the running tool |
Sealing and closure performance | A printed gasket is not the molded silicone or TPE gasket your tool will run; compression set, hardness and latch retention are material behaviors | A leak test on production-representative parts — see how seal structure and sample testing are separated |
Surface finish, texture and color | A material-extrusion print shows layer lines and a matte surface; vat photopolymerization and material jetting print smooth, sometimes glossy parts; no printing process reproduces the cavity's texture and gloss levels | The molded part, in the resin and color you approved |
Impact and thermal performance | Strength, drop behavior and dishwasher or microwave tolerance depend on the material and how it was formed | Test reports on production-representative parts |
Food-contact compliance | A declaration covers a resin grade and the article a documented process produces. A printed sample is neither that resin grade in its final state nor that article | The declaration and migration reports covering the production material and the finished model |
The dimensional point deserves one sentence more. Printing has its own tolerance and its own design rules, so a printed sample can show you that a fit works, but it cannot certify that the fit will land inside the tolerance band you put on the drawing. Treat a printed measurement as a check on the idea, not as evidence about the molded part.
Warp and cycle behavior are the two the buyer feels later. A printed lid that sits flat tells you nothing about a molded lid that lifts at one corner because the gate is at the wrong end. And the closure is the part of a food container most likely to be signed off too early: a printed sample can show you that the rib and the groove meet, but not that the gasket will still seal after a hundred dishwasher cycles.
That distinction — geometry verified, performance not — is the same one behind airtight versus leakproof claims. It is also why the cycle count, temperature and pH behind a cleaning claim have to be tested on the production part.
Microwave claims carry the same shape of risk, which is why they are usually written as contract clauses rather than as test results from a prototype.
Two limits get missed because they look like finishing details. Color: a printed sample cannot represent a masterbatch match, and color is a decision made in the resin, not on a printer. Gasket material: if your seal is a molded silicone or TPE part rather than the container polymer, its compliance evidence travels with that part, not with the container — the split our note on non-PP parts and their evidence covers.
Where compliance is concerned, the documents to ask for are specific and market-bound. For a polypropylene container sold in the United States, the reference a laboratory report should cite is 21 CFR 177.1520 for olefin polymers. For the European Union, the framework the declaration has to sit inside is Regulation (EU) No 10/2011 on plastic food contact materials.
The Commission's food contact materials pages are the entry point to the current rules. We make no certification claims on this page. What matters here is narrower: a printed sample has no place in that file.
How that pack is assembled piece by piece is set out in our guides to the documents to request from a food container factory and to the five-market compliance map.
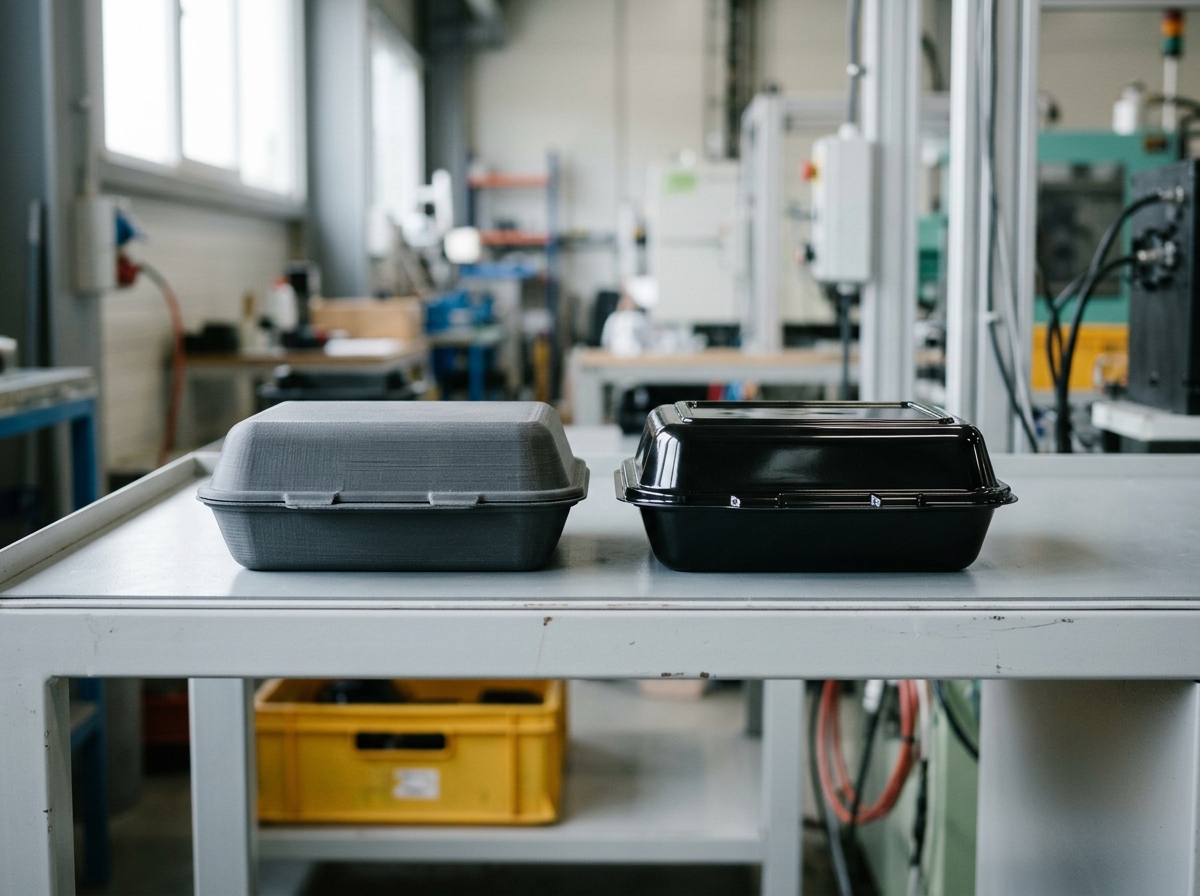
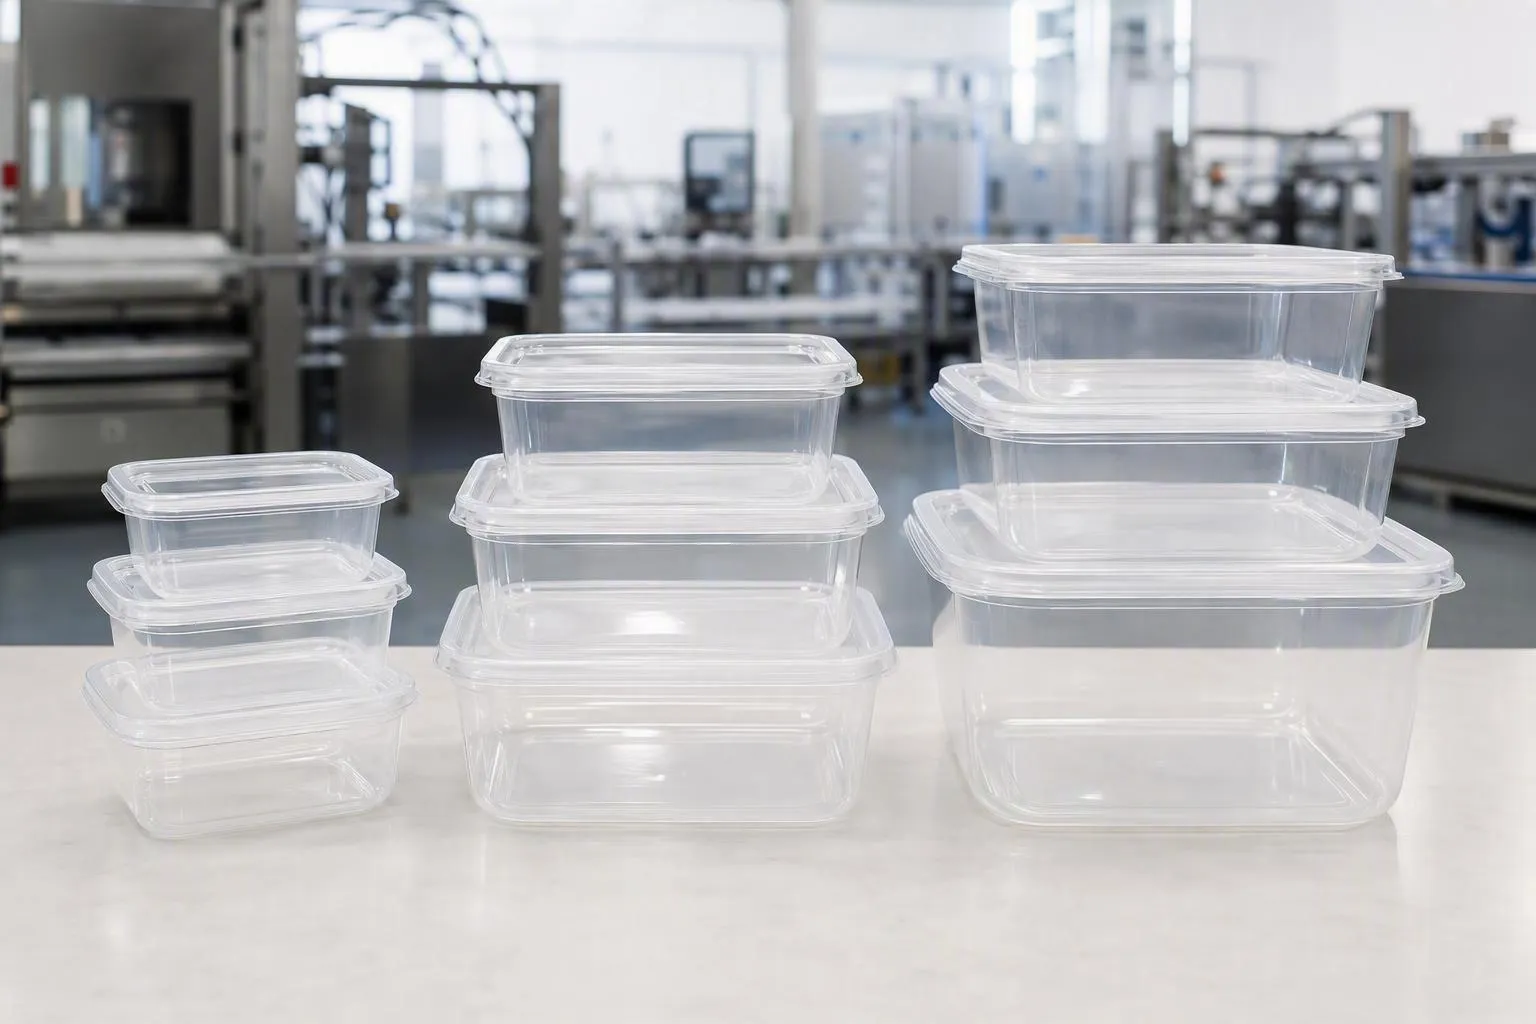
Illustration: a printed stand-in and a molded part on the same bench — the shape can be compared, the process cannot.
What to Sign Off at the Printed-Sample Stage — and What to Leave Open
A sign-off is only useful if it names what it covers. Approving "the sample" at the printed stage is how a buyer ends up committed to appearance and weight before either has been made. Split the sheet in two.
Sign off on the printed sample | Leave open until the molded part |
|---|---|
The frozen shape: outer envelope, capacity target, compartment layout, interface points with the rest of the range | Achieved wall thickness and unit weight |
Lid travel, latch position and open/close sequence | Seal performance: leak, retention, gasket compression |
Ergonomics: grip, clip force, one-hand opening | Surface finish, texture and color match |
Assembly order and whether the parts go together by hand | Warp, sink marks, gate marks and all cosmetic defects |
The DFM decisions: draft, nominal wall, gate position, material and grade, tool structure | Cycle time and the resulting unit cost |
The approval the sample is for — a shape check, not an appearance release | Compliance: the declaration and test reports covering the production article |
One line belongs in front of the sign-off sheet, because it decides every row under it:
Approve the shape from the printed sample. Approve the weight, the wall, the finish and the seal only from a part the production cavity made.
Read that as a division of labour rather than a warning. The sample stage exists to settle the shape, which is expensive to change later, and the molded part exists to settle everything the process decides, which cannot be settled earlier. A buyer who keeps those two apart rarely has to argue with a factory about who approved what.
The printed stage is also the right moment to fix the questions rather than the answers. Write down, before steel, which dimensions are functional and must be held, which are cosmetic and may move, and which face the buyer will never see. That list is what the first article inspection is measured against, and a toolmaker who receives it can cut the cavity to suit — while a toolmaker who receives a sample and an assurance that "it should look like this" has nothing to measure.
What It Costs in Time, and When Printing a Sample Is Worth It
The loop cost is the whole argument. A printed sample is an iteration bounded by print time and a CAD edit; a change after the steel is cut is bounded by the tool — welding, re-cutting or a new insert, and sometimes a new tool when the change crosses the parting line or the gating. That asymmetry is why the same design change costs minutes before steel and weeks after it, and it is the only reason to spend sample time at all.
It is worth printing when the geometry is new: a fresh body, a new lid, a seal interface nobody has run before, an ergonomic shape where the hand decides. It is worth it when a physical object has to be approved internally or shown to a retail buyer, and when packaging or artwork has to be designed in parallel with the tool. It is worth it when the new container has to interface with a part you already buy.
It is a poor use of the calendar when the shape is already in production and the change is color, print or packaging — that path runs through the recorded model, not the printer. It is also the wrong tool for a material or compliance question, where the deliverable is a document, not a part. And when the geometry is proven and the constraint is the season, the honest sequence is to go straight to the tool with a defined first-article plan rather than to print a sample for the sake of the process — a judgement we would rather state plainly than sell you the extra step.
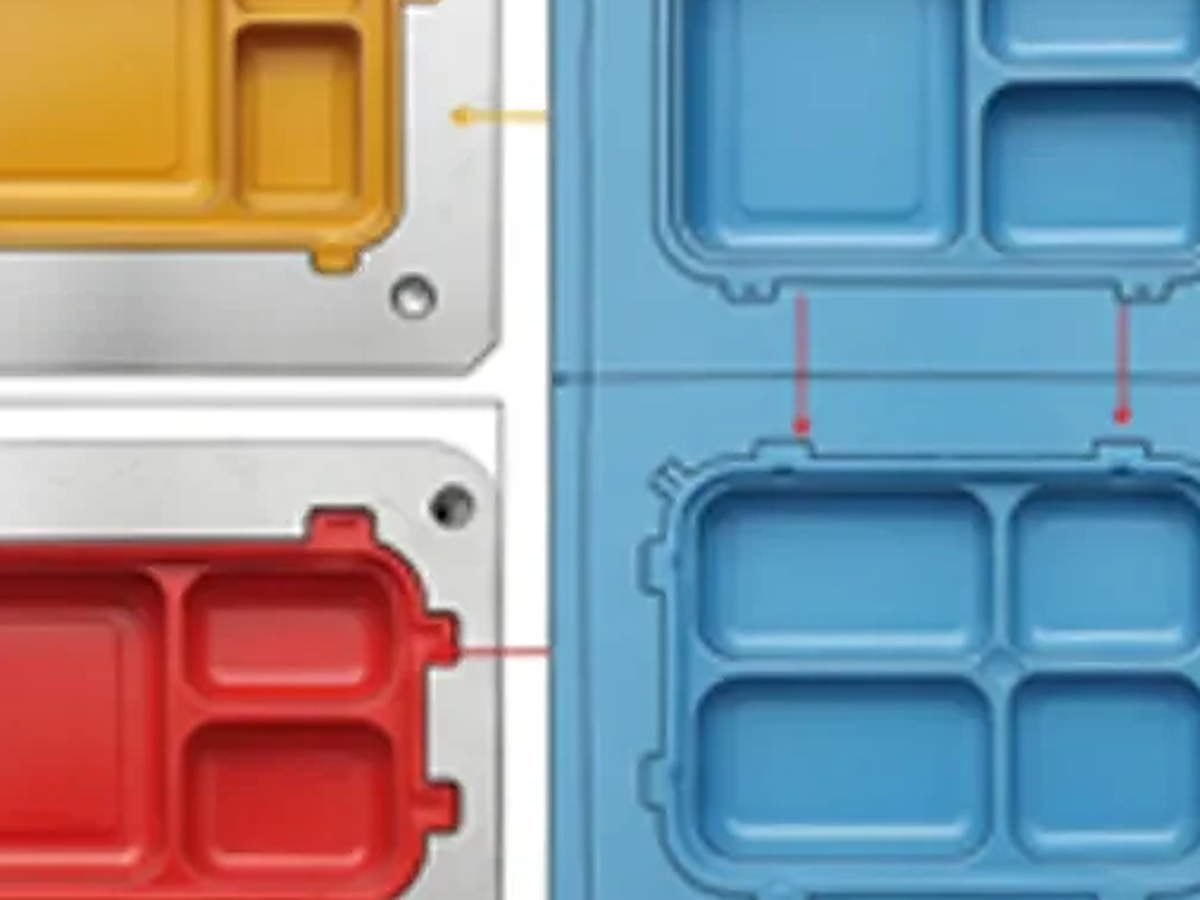
A cavity layout for a compartment container: the dimensions, the shrink and the finish are decided at the mold stage, not on a printer.
Two Failure Modes: Skipping the Printed Sample, and Trusting It Too Far
Skipping it. The container arrives, the lid interferes at the corner, and the fix has to be made in steel. That fix is usually possible — but it consumes tool shop time and, more expensively, it consumes the weeks you had reserved for production. The tell-tale is a program that discovers an ergonomic or closure problem during the first inspection instead of before tooling.
Trusting it too far. The opposite error is quieter and it is more common. A printed sample is good enough to hold that buyers approve things on it that it cannot show: weight, wall, appearance, seal behavior, compliance status. The failure surfaces later as a molded part that is heavier than the sample felt, a lid that lifts where the printed lid sat flat, or a buyer's own customer asking for a compliance document that the approved "sample" was never able to generate.
There is a third, smaller error: photographing a printed sample for a listing or a retail pitch. It looks like the product and it is not the product — a material-extrusion print shows its layer lines on camera where a vat-photopolymerization or material-jetting part would look smooth, and either way the shadow of what you approve should be the molded part.
How This Stage Runs in Our Own Process
Our sequence runs design brief → DFM review → sample stage → sample approval before steel → tooling (cut in house) → trial-sample / first-article approval → mass production and quality control. Two approvals sit on that line and they are different gates: the first releases the shape, the second — the first article inspection that follows the tool — releases the molded part. When the sample stage calls for printing, we print; when a machined or hand-finished model answers the question faster, we do that instead. The custom mold development page shows how the tooling step runs — its step 05 approval is the post-tooling one — and what our quality control covers shows what happens after it.
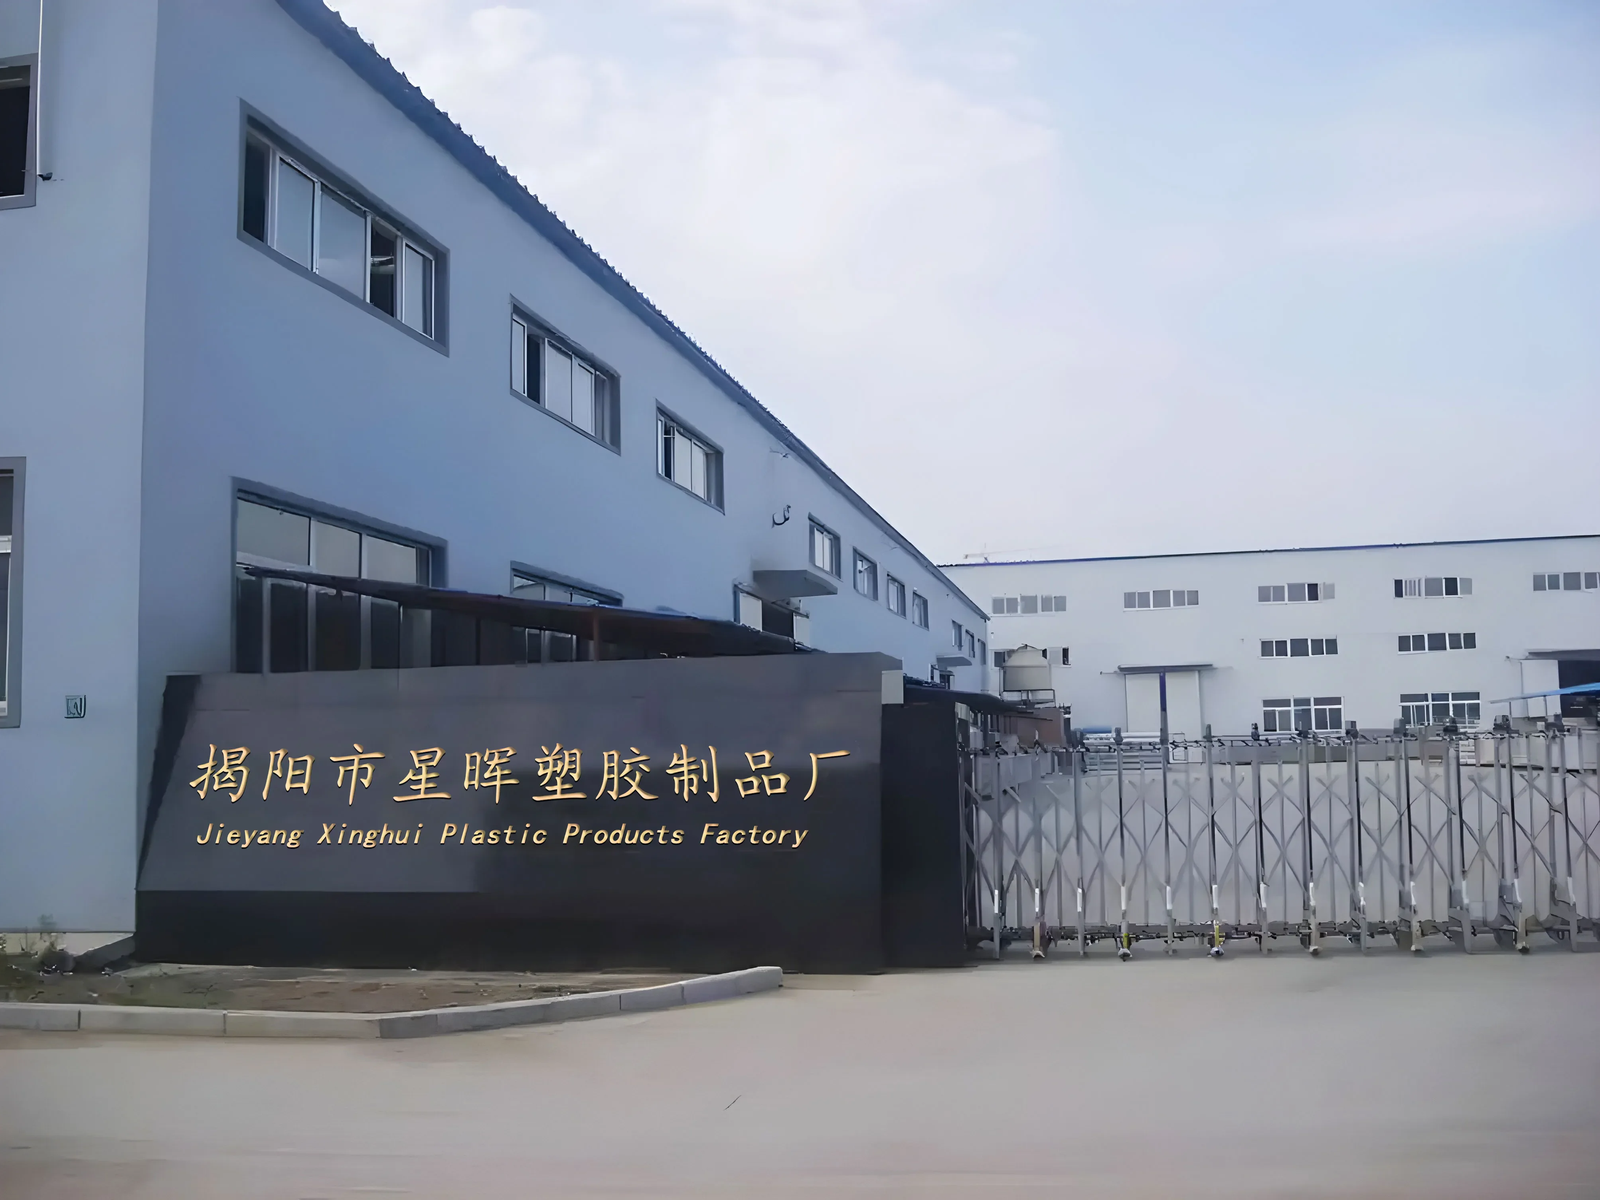
Our plant in Jieyang: custom container tooling is cut here, in house.
One practical note that saves buyers a step. We already run a published range of containers, from wholesale lunch boxes to food storage containers and drinkware. If your change sits inside a model we already publish — a color, a logo, a carton — the sample stage is a sample from the existing tool, not a printed verification model, and the sequence is faster.
Printing to verify is for the projects where the geometry itself is new; the wider sequence from sketch to mass production, and the sign-off at each step, is the one our custom manufacturing guide walks through.
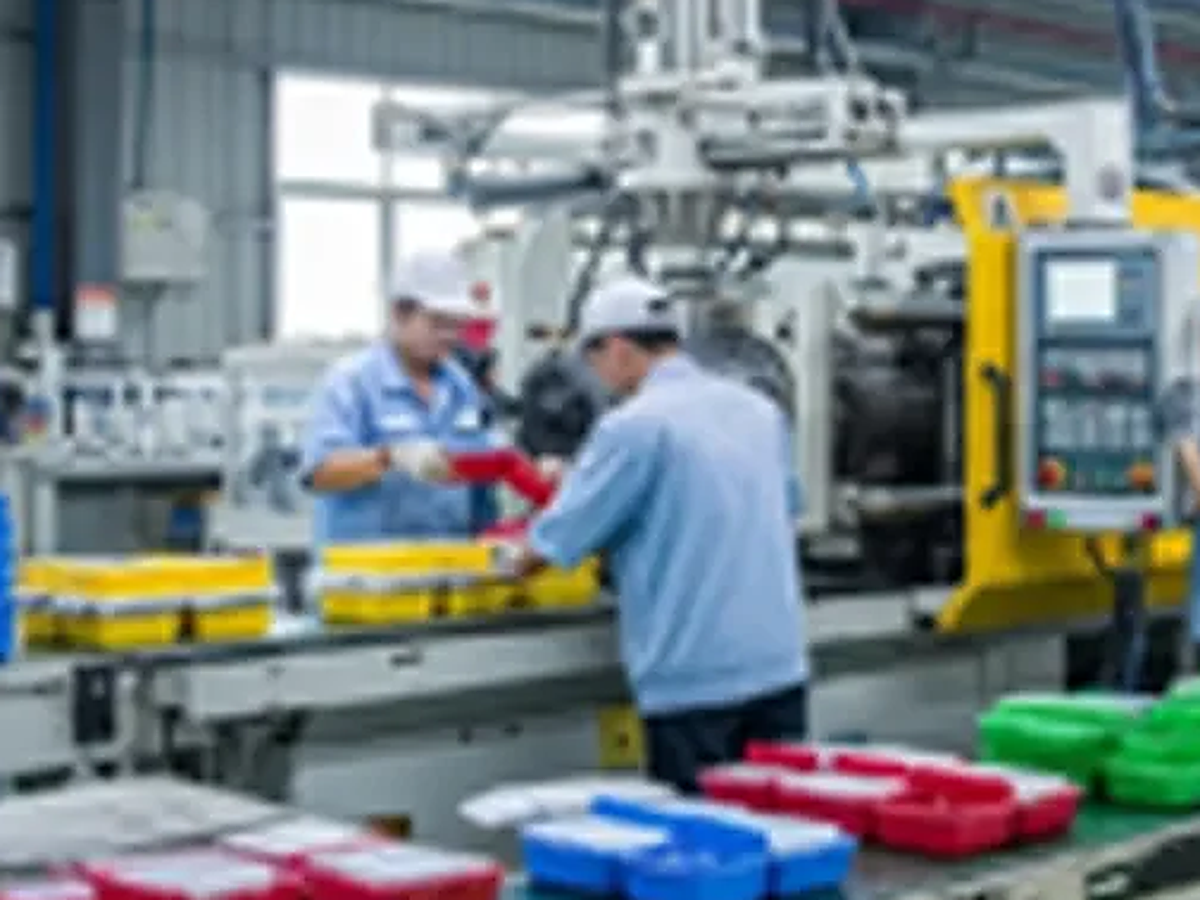
Injection molding machines and operators on our production floor — where the cycle, the warp and the finish are finally decided.
FAQ
Can you 3D print an injection mold?
You can print a mold for very short runs — printed inserts are a real technique for producing a few hundred parts without steel. That is a different question from this page's, and the two get confused because they share a phrase. A printed mold is tooling; a printed sample produces no parts at all. If your volume justifies a production tool, the useful printed object is the sample that verifies your geometry before the cavity is cut, not a printed cavity that will not survive a production run.
Is a 3D-printed prototype the same as a first article?
No, and the difference is exactly what the two are allowed to certify. A printed prototype is a shape check: it confirms that the design works in the hand. A first article is a production part made from the production cavity in the production resin, and it is the object that can be measured against the drawing, tested for leaks and submitted with the compliance file. Approving one is not approving the other.
How long does a printed sample take?
Print time depends on the part size and the printing process, and on our side it is quoted with the project rather than promised as a fixed number. The point of the stage is not its duration but what it bounds: an iteration that costs a print instead of a tool change. Compare that with the alternative — a change discovered after the steel is cut, which is measured in tool shop time and in the production weeks you had reserved.
Can I approve the design from the printed sample?
Approve the shape, the closure sequence and the DFM decisions; do not approve the weight, the wall, the appearance or the seal. A useful sign-off names both halves: what was verified by this sample, and what is still open until the molded part exists. If your supplier asks you to release appearance or unit weight from a printed part, that is a request you can decline.
Does a printed sample tell me anything about food-contact compliance?
Nothing. Compliance attaches to the resin grade and to the article a documented process produces; a printed part is neither. Ask for a declaration and migration reports that name the production material and the finished model, and keep the printed sample out of that evidence pack entirely.
Next Step
If your container geometry is new, send us the design and the intended use — capacity, market, material preference, the interface points that must be held — and we will come back with the DFM reading and what we would verify at the sample stage before cutting steel. If your change sits inside a model we already run, say so and we will point you at the recorded specification instead of a tooling project.
Continue reading
Related sourcing guidance
More practical context for your food storage container sourcing conversation.
Discuss your product range
Need help selecting or customising containers?
Share the product type, market and sourcing requirements with the Xinghui team.