
Food Storage Guides
Leak-Proof Food Storage Containers: Know Your Seal, Then Test It
Before you print "leak-proof", know your seal. Compare gasket, snap-lock, and screw lids, then test your samples in-house first.

“Leak-proof” is one of the highest-converting claims a food storage container listing can carry. Airtight containers already dominate the category — by some estimates they account for roughly half of food storage demand — and buyers filter on that feature before they compare price. Yet that same phrase is also one of the riskiest words in your listing, because if even one unit leaks during transit or in a lunch bag, it becomes a negative review and a return.
The problem is that most sourcing teams treat “leak-proof” as a given once they see it written on a competitor’s listing. It is not a given. It is an engineering property of the seal — and the seal you select at the factory is what decides whether your claim holds up in the real world.
This guide walks you through the seal structures you are actually buying, what each can legitimately promise, and the sample tests you can run in-house before you commit to a mold and an MOQ.
Table of Contents
• The One Principle Behind Every “Leak-Proof” Container
• Which Leak-Proof Food Storage Container Seal Are You Buying? Silicone gasket — the gold standard for liquids
• Snap-lock and latch lids — force distribution is everything
• Screw lids — strong, but torque-dependent
• What all of this means for your decision
• What “Leak-Proof” Actually Promises — and What It Doesn’t
• How to Test the Samples Yourself (Before You Print Anything) Step 1 — Start with a needs assessment
• Step 2 — The 30-second fill-and-invert
• Step 3 — The submersion bubble test
• Step 4 — The dye-penetration check
• Step 5 — The transport simulation
• Step 6 — Abuse-cycle the seal
• Interpreting Your Results and Evidence
• When In-House Testing Isn’t Enough
• How to Turn This Into a Sourcing Decision
• The Ethical-Accuracy Note for Your Listing
• Sample-Test Checklist (Download & Use)
• Next Steps
The One Principle Behind Every “Leak-Proof” Container
Every leak-proof food storage container works the same way at a basic level: a compressible sealing interface sits between the lid and the container rim, and some mechanical locking mechanism presses them together hard enough to stop liquid from finding a path through. Two jobs, two parts.
• The gasket, ring, or sealing lip does the actual blocking. It is soft, so it deforms under pressure and fills the microscopic irregularities in the plastic rim that would otherwise become leak paths.
• The lid, latch, or thread supplies the force. It holds the sealing element in place and applies steady, even compression.
If either half is poorly engineered — a gasket that does not compress in the right range, or a lid that cannot keep even pressure around the whole perimeter — the container leaks regardless of how good the other half looks. When you evaluate a sample, you are really evaluating both halves, and you need to know which of them you are looking at.
Which Leak-Proof Food Storage Container Seal Are You Buying?
There are five common seal structures in food-grade plasticware, and they behave very differently in production, in shipping, and under your claim.
Seal structure
How it works
Typical fit
Claim strength & lifecycle
Silicone gasket
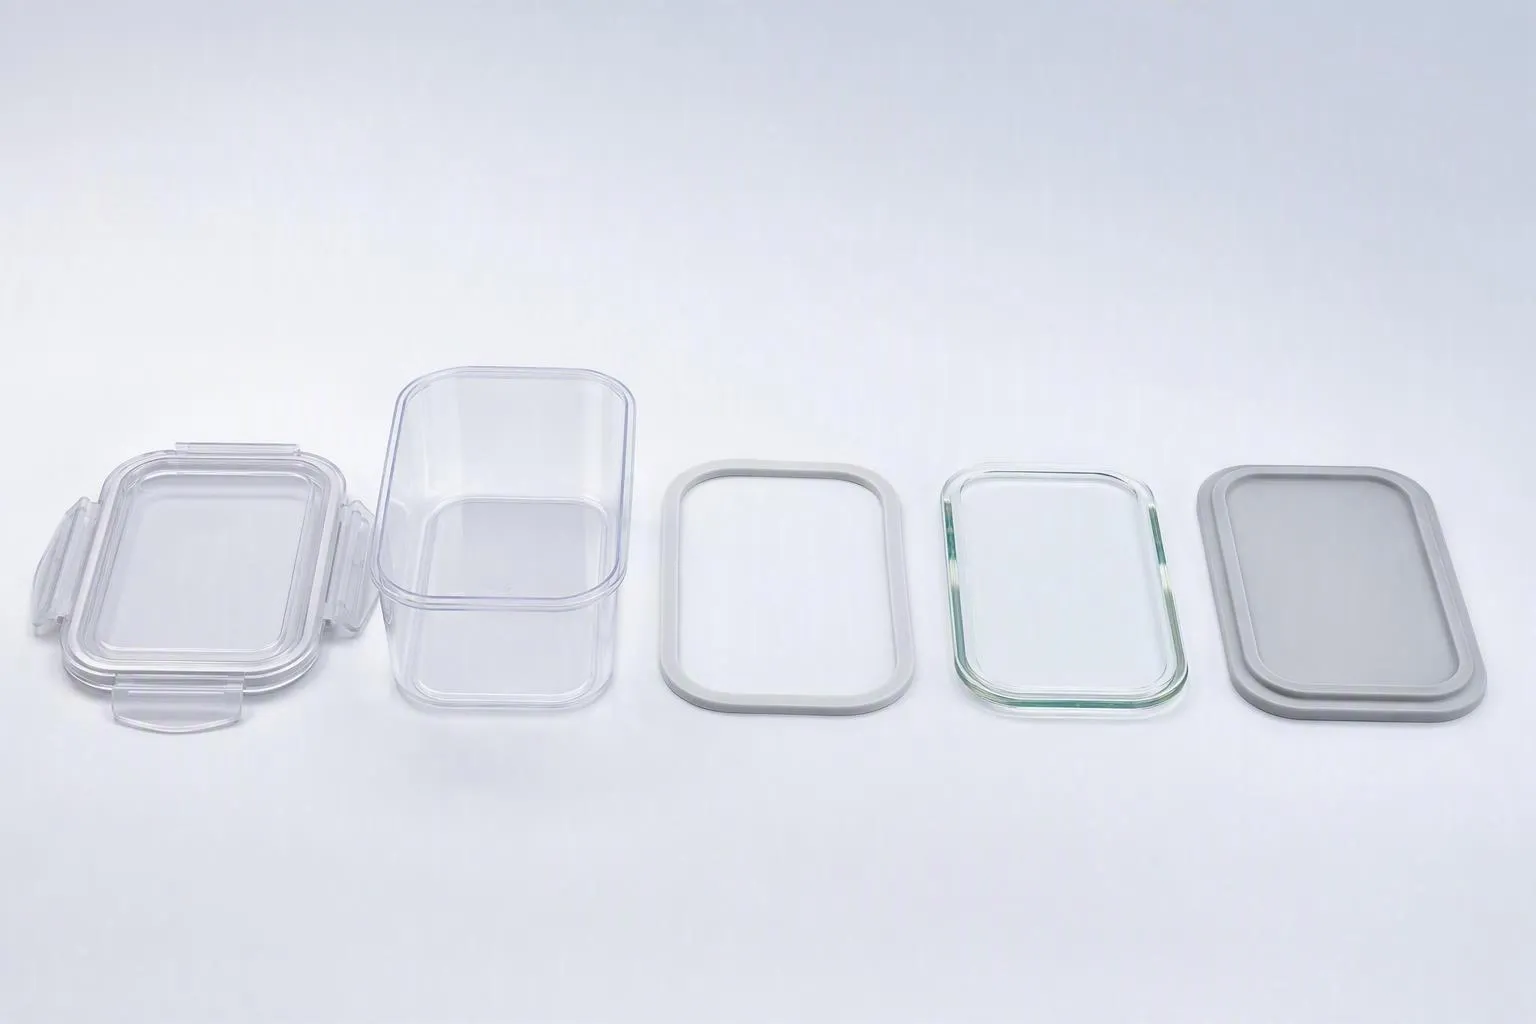
A food-grade silicone ring compresses between lid and rim on closing
Wet/liquid loadouts, soups, meal-prep
High — excellent if compression is engineered correctly
Snap-lock / latch lid
Latches pull the lid down with evenly distributed perimeter force
Bento, meal-prep, universal storage
High with 4-point locks; weak when single-clip only
Screw lid
Threads advance the lid down, converting turns into axial compression
Jars, sauces, tubs needing a strong repeatable seal
Very high — repeatable, but needs consistent torque
Sealing ring / O-ring
A ring sits in a groove and is compressed on closure
Premium, tamper-sensitive designs
High — focused contact pressure
Interference-fit snap-on lid
A slightly flexible lid deforms under tension onto the rim
Low-cost tubs, dry pantry
Low-moderate for liquids — least leak-resistant
Silicone gasket — the gold standard for liquids
The silicone gasket is the most common leak-proof structure for a reason. When you close the lid, the soft ring compresses against the rim and conforms to it, creating a continuous water-and-air barrier. Good designs press the gasket down by about 15–20% of its thickness; beyond that, silicone loses its elastic memory and can start to extrude, which is exactly when leaks creep in.
Because it is removable and replaceable, a silicone gasket also ages more predictably and is easier to clean than some alternatives. If liquids and soups are the core of your use case, this is the structure to standardize on.
Snap-lock and latch lids — force distribution is everything
A snap-lock or latch lid seals by pulling the cover down onto the container with clamping force. The number of locking points is the difference between “okay” and “actually leak-proof.” A four-point or latching system spreads force evenly around the rim, keeping the gasket or lid edge pressed uniformly. A single clip concentrates everything at one point, and the opposite edge tends to lift — which is why single-clip lids so often fail in a bag.
When you see a “lock” claim, count the points of contact across all sides, not just the ones on the front edge.
Screw lids — strong, but torque-dependent
Screw lids convert turning motion into axial force through thread engagement. Properly torqued, they give a firm, repeatable seal that is hard to beat for jars and tubs. The catch is consistency: too loose and the seal gaps; too tight and you over-compress the gasket or warp the thread. For hands-off consumers this can be the weak link, so it matters less for self-service lids and more for one-time sealed products.
What all of this means for your decision
There is no single “best” seal — there is the seal that fits your product’s worst-case use. If you are selling liquid-heavy meal-prep bento boxes, a four-latch snap-lock with a silicone gasket is your safe zone. If you are selling pantry canisters for dry goods, a well-fitted snap lid is plenty and saves cost. If your brief straddles both, an airtight food storage container with a removable gasket is the versatile default — and airtight food storage containers with a gasket plus multipoint latch are what most private-label lines standardize on for good reason. Decide the worst condition your product will face in the consumer’s hands, and let that drive the seal structure — not the other way around.
What “Leak-Proof” Actually Promises — and What It Doesn’t
Here is where the copywriting and the engineering collide. “Leak-proof” sounds absolute, but every rigorous test defines it relative to conditions. As one packaging industry explanation puts it, a leakproof label on a container typically refers to liquid containment under normal, intended use — not an unbreakable promise against misuse, extreme temperature swings, or being thrown across a warehouse.
The failures that generate returns are almost never a single visibly broken unit. They come from combinations:
• A closure that seats fine at room temperature but gaps at altitude or under vibration in transit.
• A gasket that degrades when it meets oils, acids, or hot contents over weeks of use.
• A fill line that leaves too much headspace, so pressure builds and pushes liquid past the threads.
• Lid torque that is inconsistent at the packing line, so some units ship slightly loose.
This is exactly why you must not let a static, room-temperature sample test alone justify the word “leak-proof.” It only proves the container holds water sitting still. If your product spends time in a delivery van, a hot car, or an upside-down lunch bag, you need to test for those conditions too.
How to Test the Samples Yourself (Before You Print Anything)
The good news: almost all of this verification happens long before production, on a handful of samples, in your own workspace. You do not need a lab to catch a bad seal — you need a repeatable method. Here is a workflow that separates a real leak-proof container from one that merely photographs well.
Key Takeaway : A home- or office-run leak test proves whether liquid escapes under that specific test. It does not prove food-contact safety or regulatory compliance. Use these methods to screen seals, and use certified documentation for the compliance half.
Step 1 — Start with a needs assessment
Before you test, define what your product must survive. Fill each sample to the intended service level with the exact headspace your packing line will use — testing at a convenient half-fill tells you nothing about real pressure. Record the hottest filling temperature, the heaviest portion, the longest expected delivery time, and whether the box will ride upside down in a bag.
Step 2 — The 30-second fill-and-invert
Fill the container with room-temperature water (add food dye to make seepage obvious), seal it exactly as a consumer would, turn it upside down over absorbent paper, and hold it for 30 seconds. Independent testing organizations routinely hold containers through a similar move — the Choice consumer lab fills to capacity, secures the lid, shakes, then inverts over absorbent paper for a full minute — so treat a minute as the stronger standard. Any seepage at this stage is an immediate fail.
Step 3 — The submersion bubble test
Seal the container and submerge it fully in a sink or bucket of water. Watch the lid, rim, and seam for bubbles. Escaping bubbles mean air is leaving, which means a path exists. This is the same principle behind the standardized bubble-emission seal-integrity method ( ASTM D3078 ), just run by hand, and it is one of the fastest ways to expose a micro-gap on a sample.
Step 4 — The dye-penetration check
For a more sensitive look at the closure area, wipe a thin layer of dye or food coloring around the rim and gasket channel, close the lid, and let it sit. Where the dye migrates past the seal is where a leak will start. Lab-grade dye-penetration testing formalizes this as ASTM F1929 , which uses a dye solution to reveal defects or paths through the sealing area. On a sample, even a basic colored-lotion or tinted-water pass will light up a bad gasket channel.
Step 5 — The transport simulation
The static tests pass on many containers that still leak in real life. So run a transport simulation: fill and seal several samples, then shake, tilt, stack, and drop them the way a fulfillment center and last-mile driver would. Cycle them through temperature changes and, if your product crosses borders or flies, a simulated altitude/pressure change. If the closure loosens or the gasket deforms under any of these, your claim does not survive transport.
Step 6 — Abuse-cycle the seal
Finally, open and close each sample 100–500 times. This checks gasket memory and latch fatigue — whether the seal still holds after the kind of wear a family puts on a container in its first few months. A container that seals beautifully on close #1 but leaks on close #400 is a returns problem waiting to happen.
Interpreting Your Results and Evidence
If a sample fails any step, do not assume it is a fluke unit — run the same test on at least two or three samples to separate a single defective piece from a design flaw. Pass everything and you have high confidence the seal is right for your conditions. A manufacturer that offers engineered sealing (multipoint locking, properly compressed gaskets, replacement gaskets available) and is willing to share its own test methods is a strong signal, because it tells you the factory treats “leak-proof” as an engineered property rather than a marketing word.
Pro Tip : Bake the leak test into your incoming-goods inspection, not just your pre-order samples. Spot-check a few units from each production batch using the same fill-and-invert and submersion methods, so a silent change in gasket thickness or molding tolerance does not reach your customers unnoticed.
When In-House Testing Isn’t Enough
It bears repeating: a functional leak test and a compliance claim are different things. Your sample passing a water test says the seal works. It does not, by itself, prove the materials are food-contact compliant or that the packaging meets FBA and marketplace requirements. For the compliance half, rely on a food-grade material specified to standards such as FDA 21 CFR 177.1520 for polypropylene, EU No 10/2011 , or LFGB , and verify certification documents for your market. Keep the functional test and the compliance documentation as two separate tracks in your checklist — and make sure your factory can produce both.
How to Turn This Into a Sourcing Decision
Stop comparing containers by photos. Compare them by seal structure and by test outcomes. When you send a request for samples, make this explicit:
• State the worst-case condition your product must survive (hot, tipsy, long transit, altitude).
• Ask which seal structure each candidate uses — gasket type, number of lock points, gasket compression range.
• Run the fill-and-invert, submersion, dye, transport, and cycle tests on every sample.
• Ask whether gaskets are replaceable and available, and confirm the material certification for your target market.
A supplier that can answer those questions with specifics — rather than promising “100% leak-proof” in a sales email — is one you can trust with the claim. Manufacturers with deep OEM/ODM experience, like Xinghui Plastic Products , treat seal engineering and sample verification as part of the custom development conversation, because they know the claim only works if the seal survives your customers.
Key Takeaway : “Leak-proof” is a claim you earn in testing, not a word you copy from a competitor. Identify the seal structure, test the samples under your real conditions, and only then put it on the listing.
The Ethical-Accuracy Note for Your Listing
One more word on wording. “Leak-proof” and “leak-resistant” carry different weight. If your testing genuinely shows no leakage across your worst-case use case over many cycles and batches, “leak-proof” is defensible. If your product holds water sitting upright but you have not verified upside-down transport, “leak-resistant” is the honest label — and plenty of buyers will still reward it. Accuracy here is not just a compliance nicety; it directly protects your return rate and your review score, which are exactly the numbers that decide whether the product scales.
Sample-Test Checklist (Download & Use)
• Define worst-case use: fill level, headspace, temperature, transit time, orientation.
• Fill-and-invert: sealed, inverted over paper, 30–60s, no droplets.
• Submersion bubble: fully submerged, no bubbles from lid/rim/seam.
• Dye penetration: no dye migrating past the gasket/closure channel.
• Transport sim: shake, tilt, stack, drop, temperature/altitude cycle — no loosening or seepage.
• Abuse cycle: 100–500 open/close cycles, still leak-free.
• Confirm seal structure, lock points, gasket compression range with supplier.
• Verify gasket replaceability + material certification for target market.
• Roll the test into batch incoming-inspection.
Next Steps
You now have the framework to evaluate any “leak-proof” container on its engineering, not its adjectives. If you are ready to apply it, read the full food storage container sourcing guide to position the seal decision inside the broader OEM/ODM decision, and review the compliance documents you should request from a food container factory so the functional and compliance tracks stay aligned. When you have your worst-case use case defined, talk to a factory QA engineer who will walk you through their standard leak and integrity testing — and ask for custom food storage container samples you can run through this checklist yourself.
Print “leak-proof” only after the samples have earned it.
Continue reading
Related sourcing guidance
More practical context for your food storage container sourcing conversation.
Discuss your product range
Need help selecting or customising containers?
Share the product type, market and sourcing requirements with the Xinghui team.